
And the Fairy Window Painting was born . . .
I started with an old window, added trim pieces to the back to create a hollow for the canvas to set within. Then and only then was the canvas' frame made and covered.
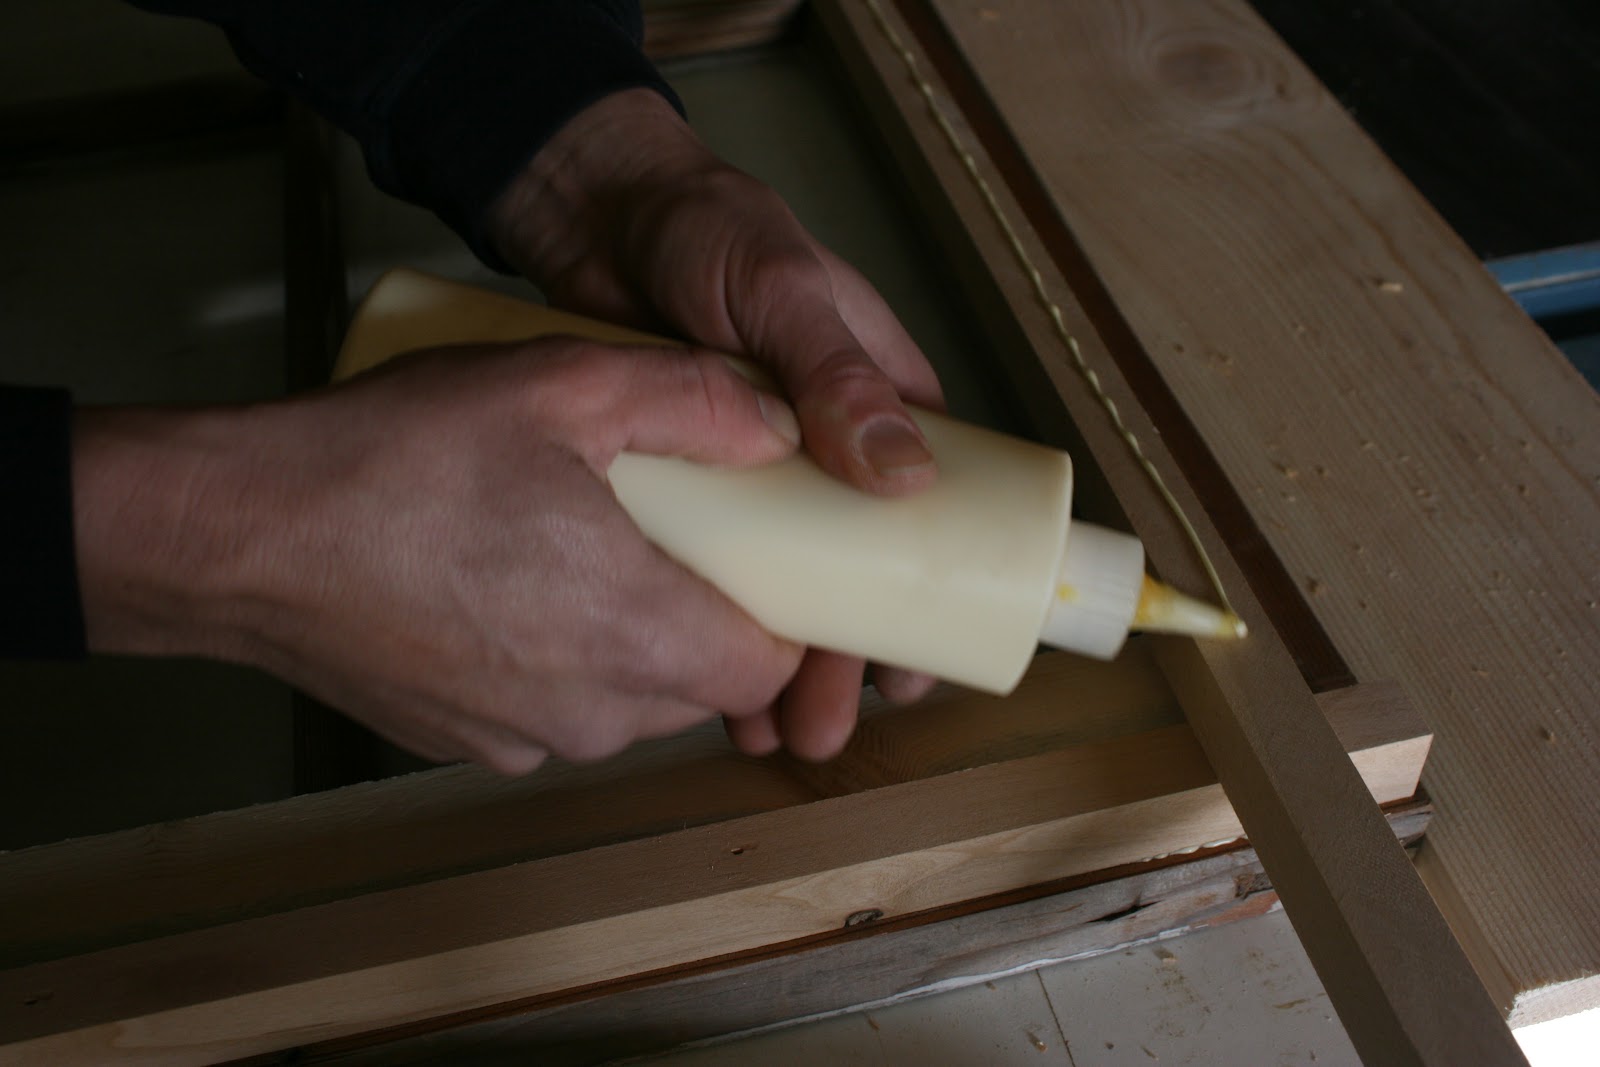 |
| Trim pieces added to frame creating hollow to hide canvas. |
 |
| Folding corners without wrinkles. |
Much research went into who these fairies would be and how they would interact in telling the story behind the garden window. Gardens are filled with flowers and leaves, branches and grasses. In order to have that something special, I wanted them to sparkle and what better way to do that but in the light of the moon. But before the story is told, the canvas had to be prepared with gesso, the blocking and layers of paint had to be applied.
 |
| Priming canvas with Gesso. |
 |
| Mixing colors is key. |
 |
| Character blocking. Now was the fun part . . . developing the charaters and the details. The blue butterfly and how it coordinated with the fairy across the canvas. The movement of the leaves and the suggestion of an evening breeze. And the unexpected touches with acorn caps and glitter.  |
Once all the characters were dancing with whimsy, the window frame needed a few final touches. Remember the added trim on the back of the window? That trim didn't have the patina in the paint that the original frame did, so I had to create it. Painting a chippy finish takes layers, a little soap and lots of sandpaper. And to hang this heavy heavy window filled with glass, wood and canvas I had to install a reliable mounting bracket and wall mollies.
 |
| Chippy paint in layers. |
 |
| Hidden or recessed mounting brackets keeping all flush. |

And last but not least . . . the installed finished painting. In the course of this whole journey I was fortunate to have a client that commissioned this piece yet allowed for my creative licensing to come into play. I invited her to view the process a few times along the way. And let me tell you that is one of the most nerve racking moments to endure. Sharing a vision that had simply started with words. And now I'm here revealing the total project with you the world.
If you are interested in commissions with me, Amy H Montoya, please contact via email at amy.montoya28@gmail.com. Open to discussions on any and all paintings.